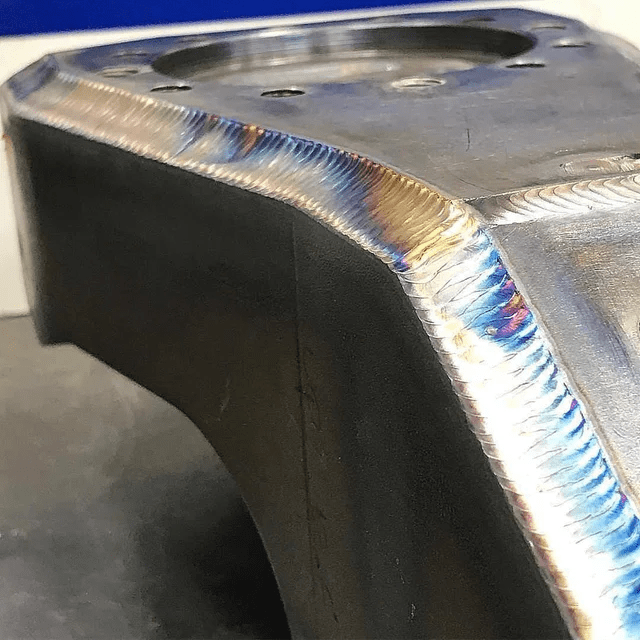
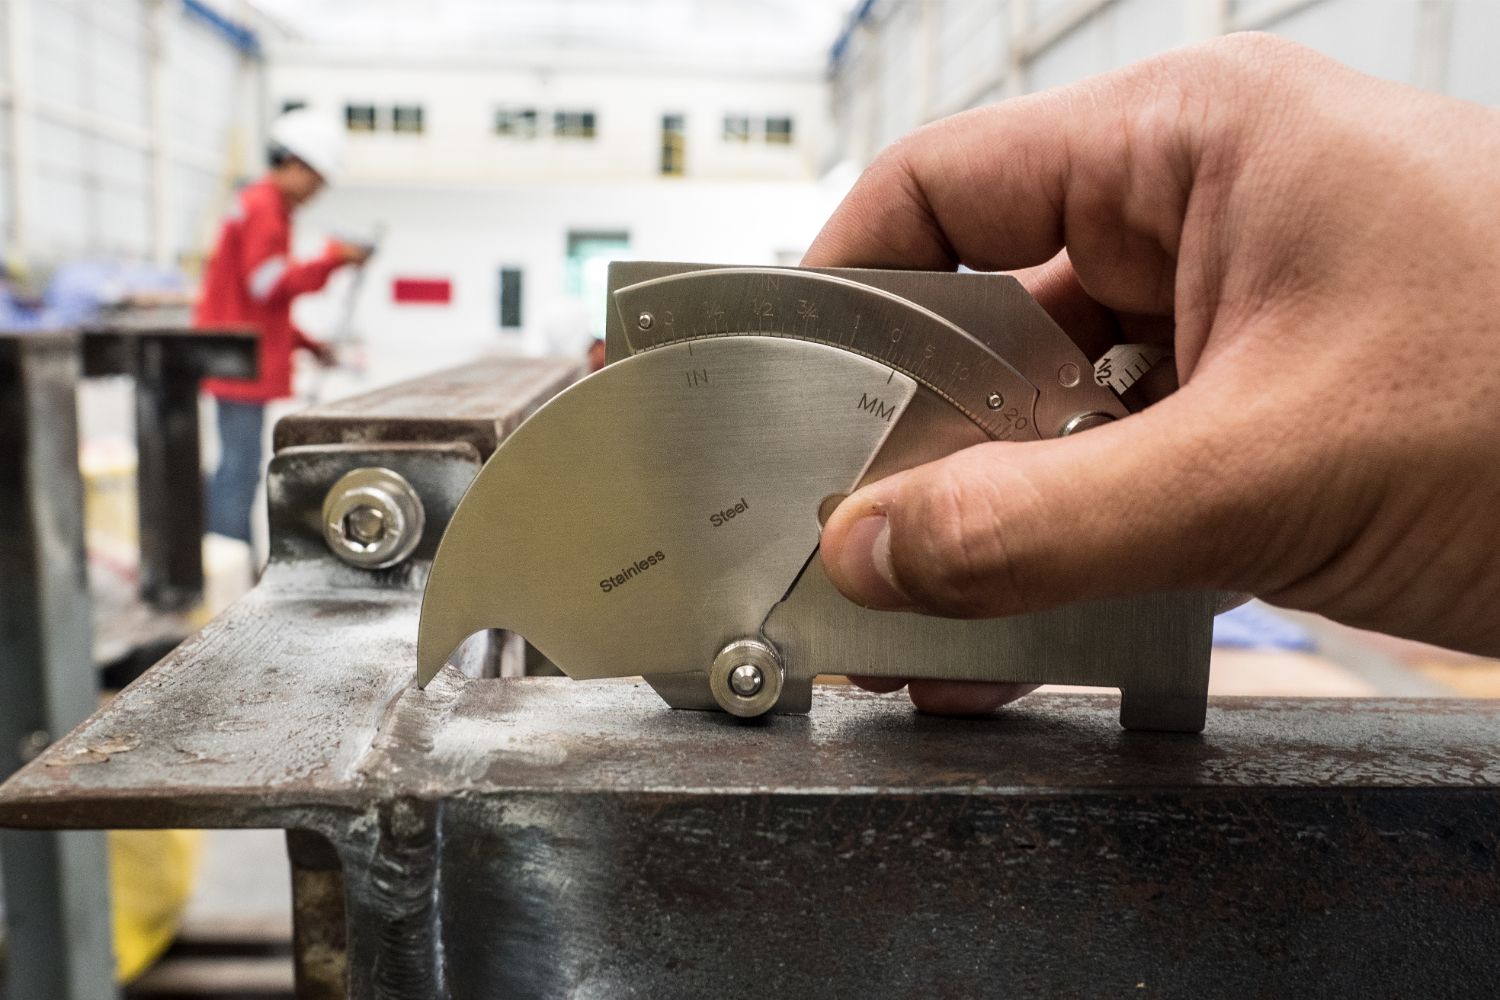
Weld quality testing is one of the most important aspects we must pay attention to meet the applied quality and weld quality assurance.
To become a professional welder with integrity, understanding weld quality standards is something we must know, not just depending on our welding skills.
To help us grow together, I have prepared some important summaries about welding testing standards and how to test welding quality in this article.
Common Weld Defects You Should Know
Before getting into the explanation of weld testing methods, I will first explain welding defects.
This is crucial information because it will be our benchmark or indicator to determine whether or not there are defects in the process to the welding results.
Well, some common weld defects that we can find during work include:
1. Porosity
Due to gas trapping in the weldment, porosity and other voids, such as blowholes and wormholes, are formed.
All three are included in volumetric defects and internal defects.
Now, some of the forms of porosity that we can find include:
Surface pores. These are uniformly distributed porosities, where the pores break up the weld surface.
- Linear: Forms a line of gas pores parallel to the axis of the weld.
- Localized. Forms an isolated collection of gas pores
- Random distribution of gas pores, but in a uniform form throughout the metal or a wormhole
- Tubular or elongated gas cavities: Causes excessive or insufficient shielding gas in the weld joint due to paint, oil, and rust.
Read Also : Welding Porosity: What It is, Causes and How To Avoid
2. Inclusions
Inclusions are foreign objects trapped during the welding process in a solid form. This defect is volumetric and internal.
Errors in welding parameters, inter-process cleaning, electrode manipulation, and material storage cause them.
Inclusions are divided into two types:
- Metallic inclusions: copper, tungsten, and other metals
- Slag inclusions: linear, grouped, or isolated.
- Non-metallic inclusions: sulfides and oxides resulting from chemical reactions, contamination, and physical effects during welding.
Read Also : Slag Inclusion in Welding: Definition, Causes & How to Avoid
3. Lack of Fusion
This defect can occur due to the following:
- Errors in joint design and installation
- Lack of sidewall fusion in the parent metal and weld metal
- Lack of inter-weld fusion in adjacent metal layers, which usually occurs when there are errors in electrode manipulation and welding variables
- Errors in joint design and installation
Read Also : Lack of Fusion in Welding: Definition and How to Avoid
4. Underfill

One of the cases that we will encounter when using weld testing methods is underfilling.
Underfill is an intermittent or continuous area on the weld surface. It is located below the adjacent parent metal surface due to insufficient weld metal deposition.
The cause is high heat inputs and high welding travel speeds.
The nature of this defect is external, and we can use weld quality visual inspection to check it.
5. Undercut
Undercut is a defect because the parent metal next to the weld deposit is locally reduced.
It usually occurs at the fusion face of multi-run welds or the toe of the weld.
The cause of undercut is usually due to too high of the welding speed and current and technical errors by the operator.
Read Also : What is Undercut in Welding, Causes and How to Avoid Them
6. Excess Reinforcement or Penetration
This defect causes errors when adjusting the joint, too slow travel speed, and excessive current.
For butt welds, this excess occurs on the root side of the weld or above the height of the parent metal.
As for fillet welds, the excess occurs above the specified fillet size.
Read Also : Excess Reinforcement in Welding: Causes and How to Avoid
7. Cracks
Cracks are the most serious type of defect we will face as welders, as they can cause the failure of the welded structure.
There are two classifications of cracks based on the orientation of the crack, namely:
- Longitudinal: a crack with a direction parallel to the weld.
- Transverse: a crack whose direction is 90 degrees or across the weld.
- Crater: crack looks like a star and is caused by the termination of a weld bead.
The nature of cracks can be internal, external, or planar.
High welding currents, errors in arc termination, incorrect selection of consumables, excessive restraint of the joint, and incorrect run depth and width ratio cause cracks.
Read Also : Welding Crack: Causes & Effective Prevention Methods
8. Mechanical Damage
This is damage in the form of indentations on the surface of the weld or parent metal.
This occurs due to damage during preparation, welding, dressing, or handling, caused by errors in using hammers, burrs, or chipping hammers.
9. Overlap
This defect is caused by the metal not joining at the end of the weld to cover the surface of the parent metal.
The cause is the wrong torch angle and slow travel speed.
Read Also : What is Overlap Welding: Causes and How to Avoid Them
Visual Inspection in Welding

Now, we can use several weld quality testing methods to find defects in welds. This time I will explain the visual inspection method, which welders popularly use.
Visual Inspection (VT) is a non-destructive testing (NDT) method. It is a way of checking for surface discontinuities using the eyes only.
So we can keep the finished product the same. What a relief!
How to Perform Visual Inspection
In general, there are three steps to perform VT on your welding results, namely:
Before Welding
The inspector overseeing checking must understand welding procedures, codes and standards, and applicable drawings.
If you want to perform VT yourself, you must be qualified as an inspector before production welding.
We must check the consumables, preparation, and alignment of the joints. Once everything is confirmed, the welding process can be carried out.
During Welding
The inspector should check the welding process and parameters by the applicable welding procedure specifications during welding.
The inspector should witness root run, root dressing, consumables, and interpass temperature.
Read Also : Destructive Testing in Welding: Basic & Complete Methods
After Welding
An identification number will be assigned near the joint after welding.
After that, a complete VT is performed to determine the presence or absence of one of the defects described earlier.
If a defect is found, the welder must correct it according to the procedure.
Then the inspector also conducts a dimensional survey to ensure the dimensions follow the procedure.
If the final result is correct, documentation will be done.
While reading the above article, you finally know what is included in welding effects so that you can be more careful.
To check this, welding quality testing is required, which can be done by an inspector or yourself, if you are interested in learning more about it.


