For a welder, understanding the welding position is important. It’s one of the determining factors regarding the performance of welding results.
This is because each case may have different welding position types.
So that you get complete information and can help in making decisions, I will present information about the types of welding positions.
Check out the explanation below!
What is Welding Position?
The welding position is an essential part of a welder because it’s one of the processes we must do.
Welding position is a technique a welder performs to connect several metal parts at a certain angle or position.
Simply put, this position refers to our position towards the object we will weld.
The position will depend on the type of product or material you will be welding.
To do so, we must follow the Standard Operating Procedure (SOP) to maintain work safety and ensure the product is in optimal condition.
Types of Welding Position
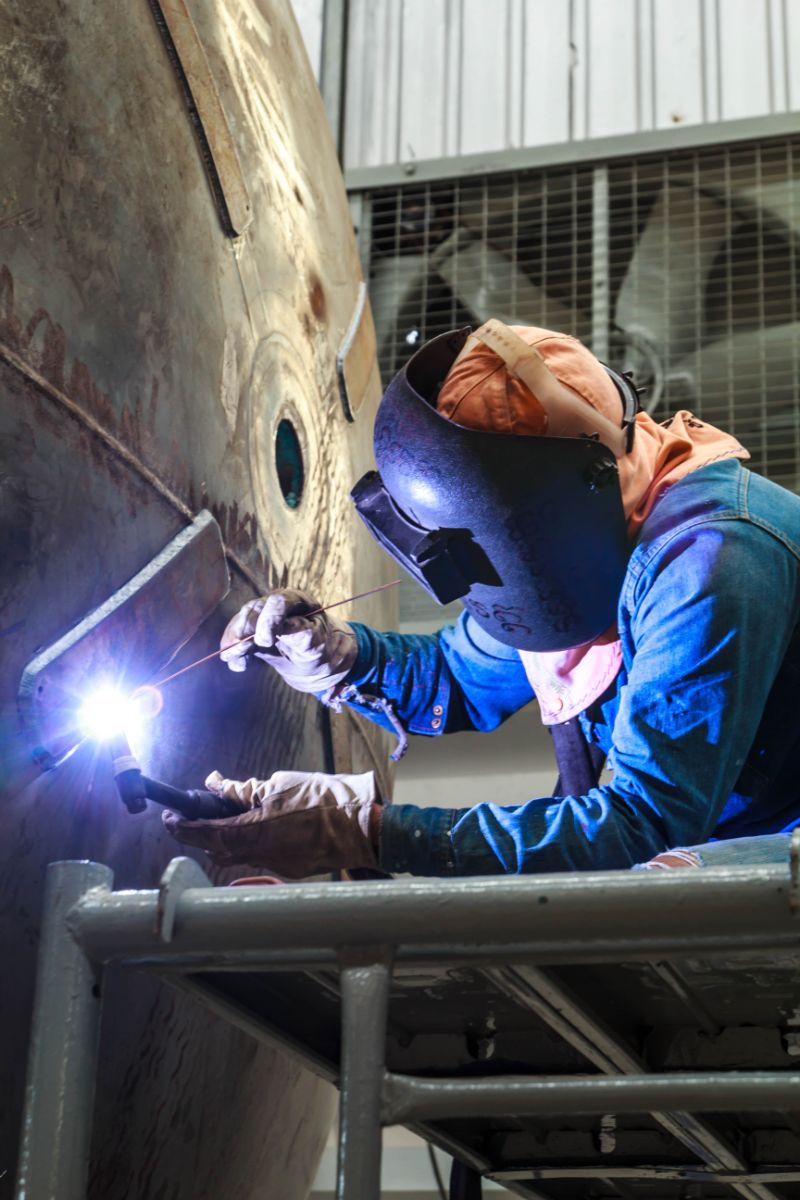
In general, there are four types of welding positions that you need to learn.
We need to know each technique because we use various kinds of welding for one work.
This is to anticipate when the shape and size of the object you are welding vary, making it difficult to hold in just one position.
Read Also : Get to Know Tack Welding: Helping Welder for Effective Work
Well, some types of positions that you need to know include:
- Vertical Welding Position
In the vertical position, the welding axis will be placed in a post that tends to be upright or perfectly vertical.
The vertical position is a common technique in welding that you can do in two ways, namely:
- Vertical towards the top: you move vertically from the bottom towards the top of the welding joint.
- Vertical downward: You move vertically from the top to the bottom of the welding joint.
This technique is also very suitable for welding thick or large objects that are difficult to reposition horizontally.
Although relatively easy, this method also has its challenges due to the force of gravity. The power of gravity will make the molten metal drop and eventually settle more quickly.
It’s best to use a vertically upward position by pointing the flame upward and keeping it at a 45-degree place.
For the technique to work according to theory, practice on used objects. When you get used to it, then practice it while working.
Read Also : What is Vertical Welding? Avoid Common Mistakes
- Horizontal Welding Position
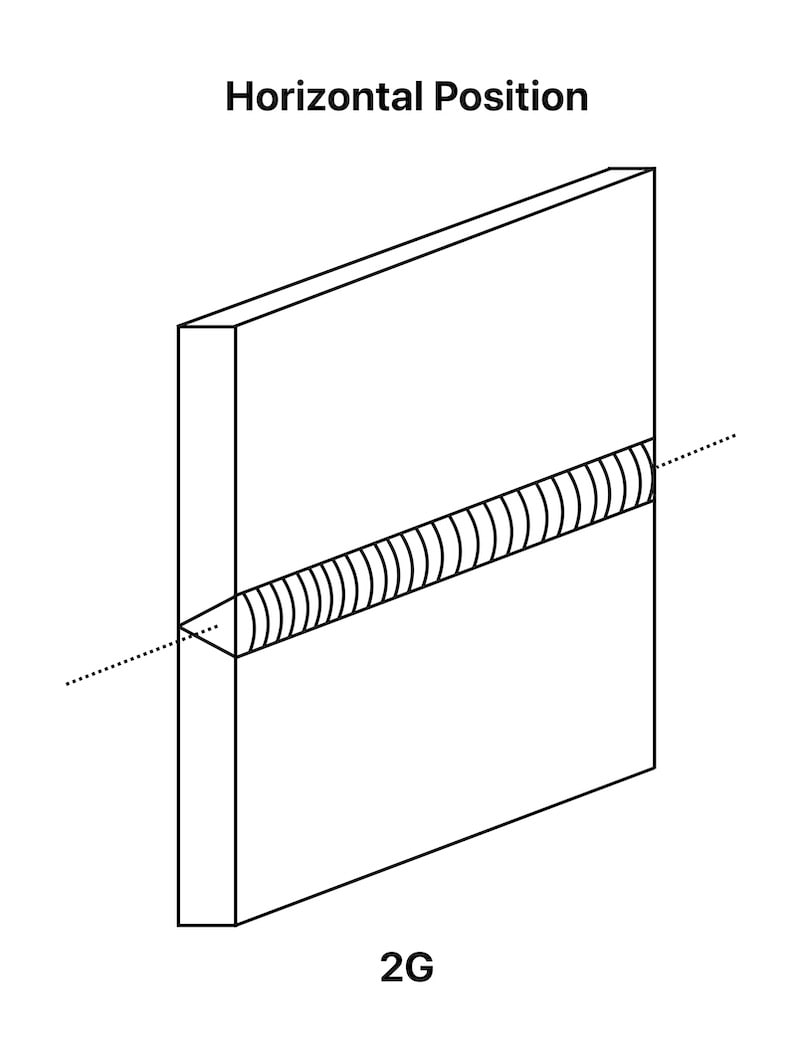
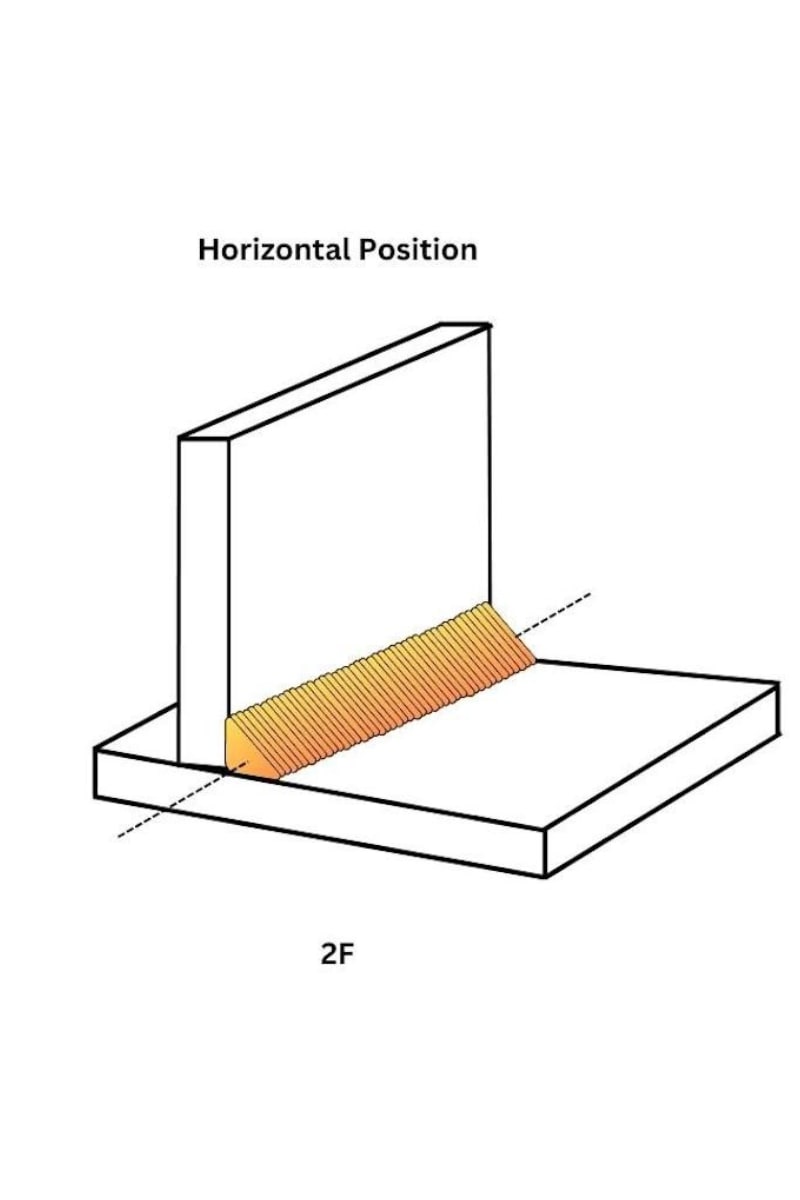
Welding horizontal position practice is by welding horizontally or following a horizontal line.
The welding results will significantly affect the electrode’s slope and the swing’s direction.
In contrast, the workpiece position is tilted slightly from the direction of the welding electrode or in an upright position.
Although horizontal, you must work against gravity in the weld puddle. Position the joint at a 45-degree angle so the heat remains focused on both parts of the fused object.
Ensure the temperature is not too hot, which can cause the metal to become too liquid. Gravity can more easily pull it down if it is too runny, resulting in less-than-optimal welding results.
This welding position is often applied to the welding of large marine vessels.
Because this welding project has a reasonably large scale, make sure you have practiced to the maximum so that this technique is successful.
Read Also : What is Horizontal Welding: Seriously Comprehensive Guide
- Flat Welding Position
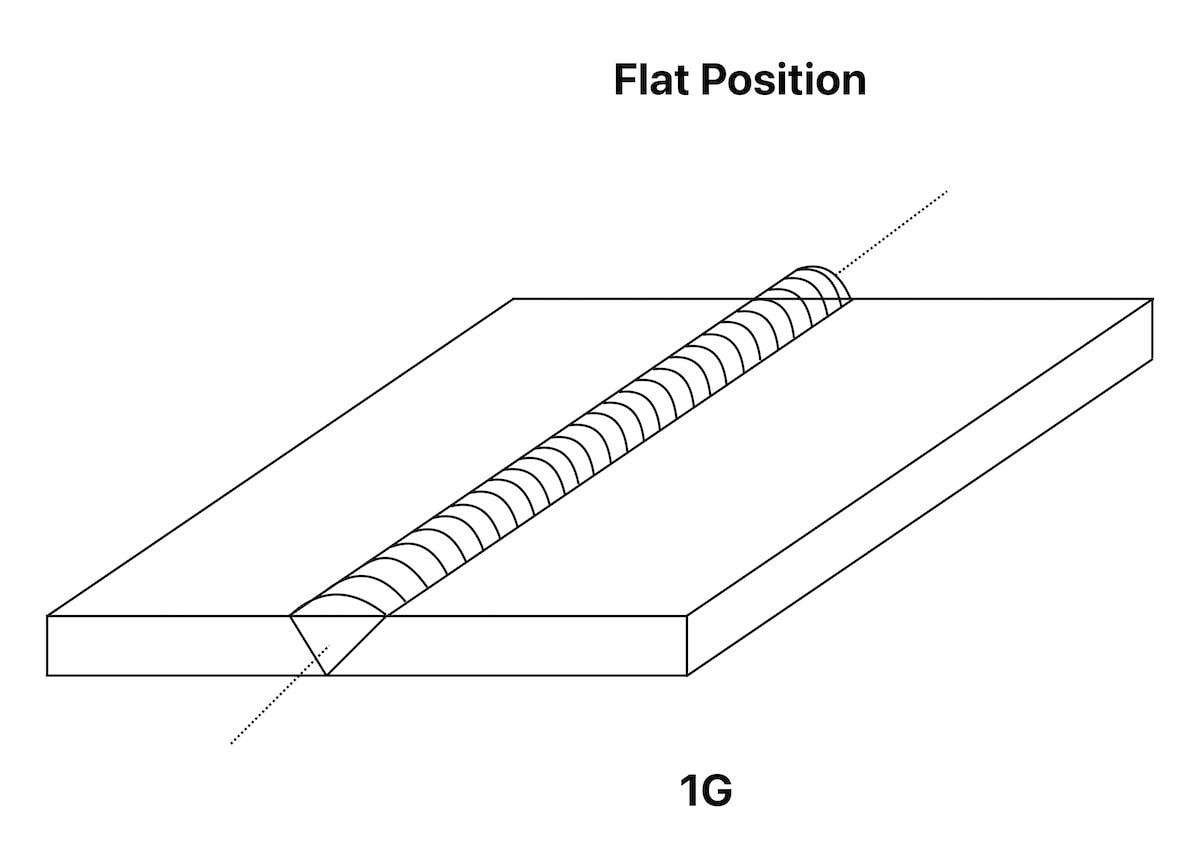
I think this is the easiest technique of the three positions. You can learn this technique first, then the other methods follow.
We don’t need to fight gravity in this technique, so the welding process is more manageable. This position is quite similar to the horizontal approach.
This technique is also known as the down-hand position because a welder can weld directly on the workpiece.
This process allows the molten metal to be drawn into the joint.
The weld puddle you create can remain molten with the right consistency, as there is minimal risk of the liquid being too thin or attracted by gravity and escaping the joint.
So, you can increase the heat level with a higher deposition rate.
Although it is pretty easy, you must still use the proper technique.
For example, you must use a pulling technique when doing the stick process because, during welding, it has the potential to produce slag.
Read Also : What is Flat Welding? Awesome Tips and Advice
- Overhead Welding Position
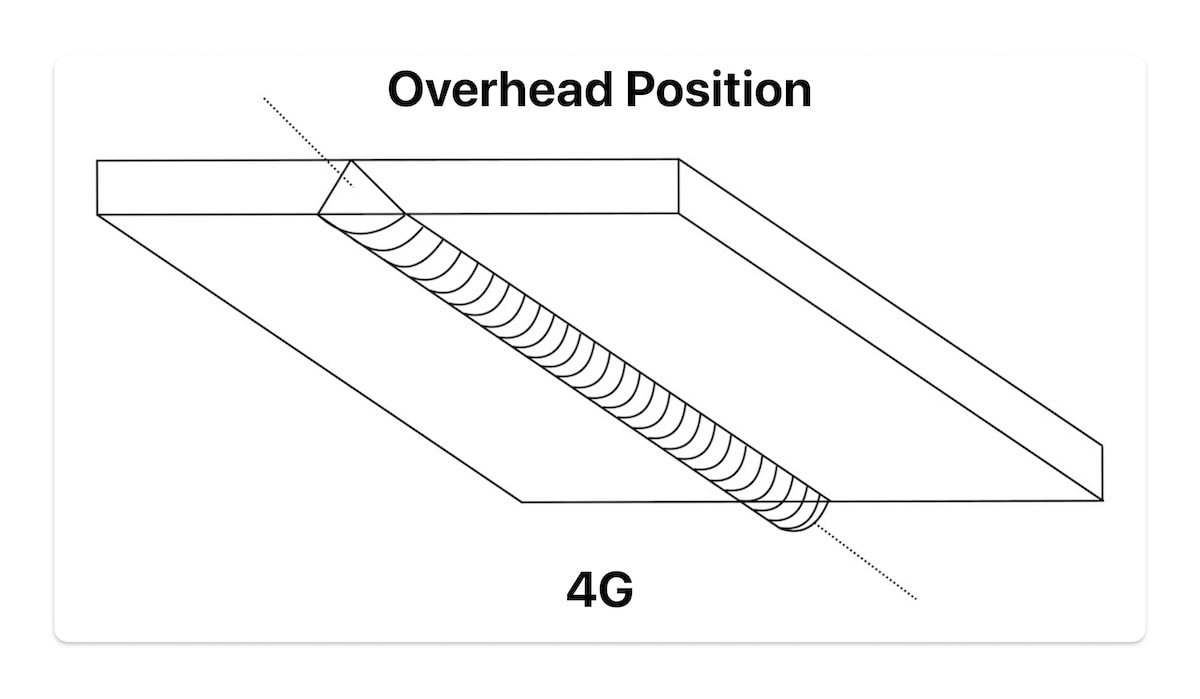
Suppose the down-hand position (flat position) is the easiest technique of all posts. In that case, overhead is the most complex and dangerous.
You must perform welding with the body position at the bottom of the joint, where you might have to lie on the floor or ground.
So, I recommend you to learn this last because you need to have more solid basics and get used to welding. Because while learning it, we also have to find the most comfortable position to avoid risks.
Safety and security must also be a top priority when welding, as there is the potential for puddles of welding to fall from the joint and hit you.
So, wear a leather welding jacket and add a bandana to the bottom of your welding helmet.
While working on it, always turn back the parameters to cool down to avoid too liquid puddles.
Read Also : What is Overhead Welding? Easily Increase Skill Levels
Tips for Welding Position
Sometimes we are faced with unexpected or unplanned cases when welding.
As operators or welders, we must read the situation and maximize our abilities when faced with this.
If you do both, the charger material can be saved so that we can finish the job.
For each welding process to run well until the end, you can follow a few tips below:
- When welding out of position, reduce the amperage by 15%. If the power is not appropriate, the electrodes may stick together.
- The electrode diameter should be the same as the arc length because arc length and voltage are directly proportional. Please hold the short part of the arc to reduce the heat out of position.
- The angle of the moving electrode is called electrode travel, which is useful when doing push/forehand and pull/drag/backhand.
- Use 7018 Electrode for training to prepare for welding on large projects, such as shipbuilding and building construction. This electrode was chosen because it can fill vast gaps in the metal.
Based on the explanation of the welding position above, the best technique you can learn is the flat welding position.
Read Also : Duty Cycle Welding: Important for Work Productivity
When you are more proficient, feel free to improve your skills in the other three types of welding.

