Welding and material testing is a process of inspecting and checking the results of welding, whether the material has a defect or not, and check the mechanical properties of the joint and the material.
In this article, we will talk about destructive testing methods. Let’s start this discussion.
What is Destructive Testing?
Destructive testing involves removing portions of the weld from their original positions and dimensions in order to perform the test.
Then, in order to obtain results in the form of values for mechanical qualities and the shape of the fracture, the parts known as specimens are tested by pulling, bending, hitting, pushing, twisting, and other techniques.
Types of Destructive Tests
Although some codes or standards do not always require it, a visual test is typically performed before the DT Test to visually confirm that the material or weld results are continuing for further testing.
The following are various types of Destructive Tests:
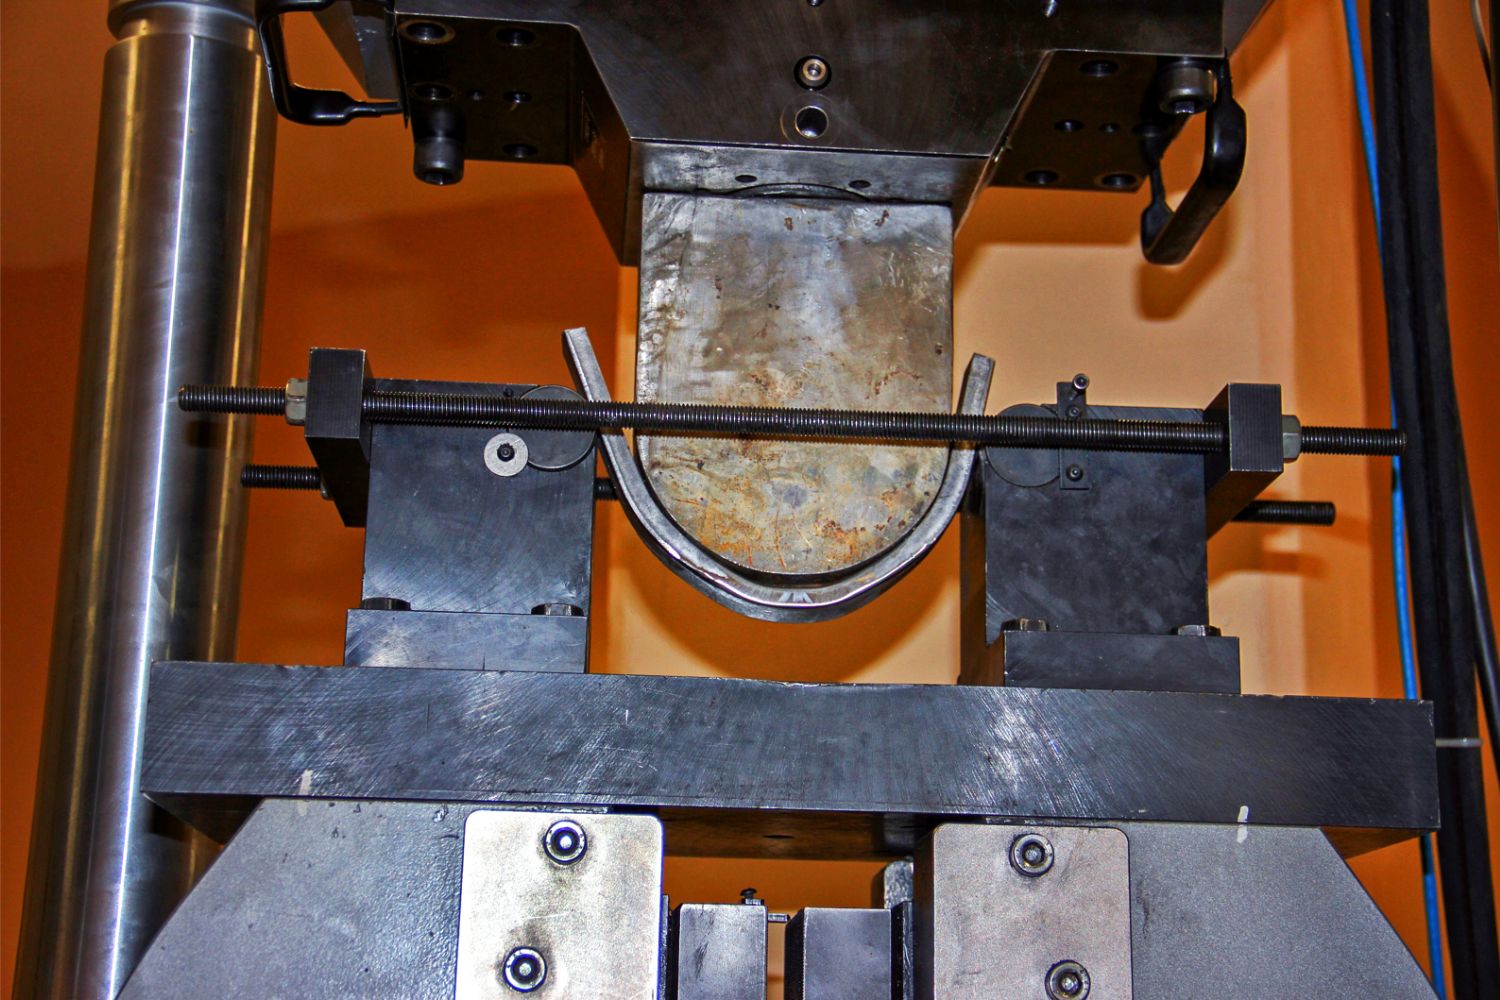
1. Bending Test

A mandrel provides pressure to the portion of the weld being tested, which causes the specimen to bend up to 180 degrees between two supports.
Following the testing of the material, it is determined whether or not a discontinuity exists in the stretched area (depending on whether the test was a face, root, or side bend).
The results are then analyzed and adjusted in accordance with the bending test acceptance requirements of the applicable standards.
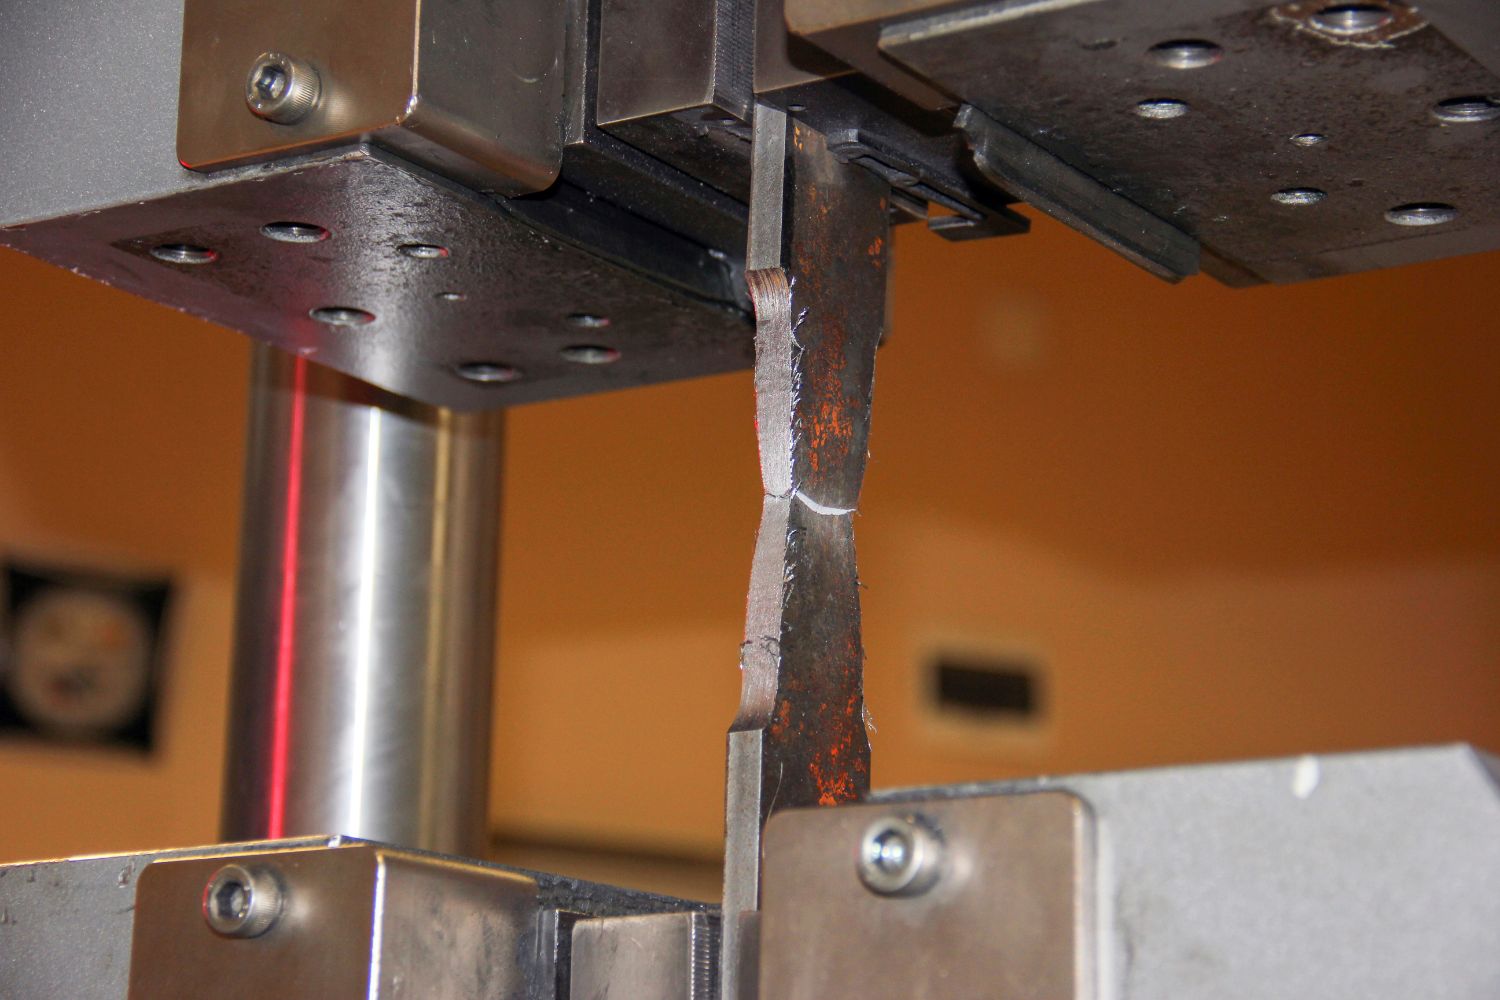
2. Tensile Test

This mechanical test tries to ascertain the material’s or the welding metal’s tensile strength, yield strength, and shear strength values.
While designing a welding method, this tensile test is required.
Read Also : Welding Myths: Discover Informative Truths and Bust Failures
Two samples are needed for testing, and the test findings must satisfy the standard’s standards for acceptable results.
The tools required for the tensile test are:
- Universal Testing Machine.
- Vernier calipers.
- Grinding.
- Saw.
- Ruler.
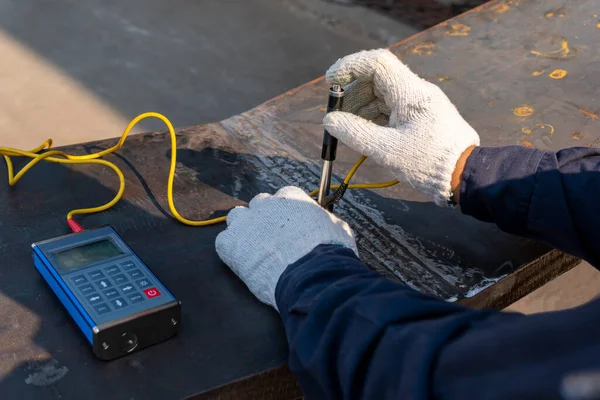
3. Hardness Test

A hardness test is a test intended to ascertain the material’s resistance to penetration, abrasion, and indentation.
According to the hardness test procedure, the material is subjected to pressure using an indenter type during the hardness test.
The Brinell, Rockwell, Leeb, and Vickers hardness tests are the most frequently employed techniques.
4. Brinell Method
Hardness testing using the brinnel method aims to determine the hardness of a material in the form of the material’s resistance to a steel ball (indentor) which is emphasized on the surface of the test material (specimen).
The brinnel test is ideally used for materials with a rough surface and a strength test in the 500–3000 kgf range.
Steel balls, known as indentors, are frequently hardened, plated, or composed of tungsten carbide.
The principle comes from testing this hardness by pressing the indenter for 30 seconds.
Then the diameter of the Identification results is measured using an optical microscope.
Materials & tools used for the brinell hardness test
- Brinell hardness testing machine
- Steel ball for Brinell (Brinell ball)
- Measuring microscope
- Stop watch
- Grinding machine
- Coarse and fine sandpaper
- Test specimens
Pros: Highly recommended for materials or test materials that are heterogeneous
Cons:
- Not suitable for use on delicate and thin things.
- It takes accuracy when measuring the indentation diameter of the indentation
5. Rockwell Method
Because of its simplicity, speed, lack of need for a microscope to detect traces, and relative non-destructiveness, the Rockwell hardness test is one of the most popular hardness tests.
The surface of the specimen (test object) is pressed with an indenter during the Rockwell hardness test.
The initial load (minor load) is applied, followed by the main load (major load), which is subsequently released while the minor load is still maintained.
This process applies pressure to the specimen using the indenter.
In the Rockwell method, there are two kinds of indenters whose sizes vary, namely:
- A diamond cone with an angle of 120º is known as a Rockwell Cone.
- Steel balls of various sizes are referred to as Rockwell Balls.
Pros:
- Able to handle very tough materials.
- Stone-to-plastic grinding is possible.
- Suitable for all materials, both soft and rigid.
Cons:
- Poor degree of precision.
- Shock-sensitive and unstable.
- The focus on the load is unworkable.
6. Vickers Method
When implementing the Vickers method to assess the hardness of materials or things, the surfaces of the materials or items being tested must be flat, smooth, and clean (no stains such as paint, scale, oxides, oil, or dirt).
The material to be tested must undergo techniques such as grinding and polishing to get this flat surface.
Similarly, with testing was done using the Brinell method, the harder the test substance is the smaller the resulting trace size, and vice versa.
This also holds true for Vickers-method hardness testing.
Cast iron is one example of an inhomogeneous material that cannot be tested using the Vickers method.
Pros:
- Test soft or hard materials with a single indenter only.
- It is possible to read the test trace results more precisely.
- Almost every metal can be tested using the Vickers method.
Cons:
- Generally, testing takes a lot of time.
- Requires measuring the diagonal of an optical trace.
- The test object’s surface needs to be spotless and smooth.
7. Impact Test
This test seeks to ascertain a material or welding product’s toughness and kind of fracture.
Typically, materials used in pressure vessel products that must withstand severe temperatures, both hot and cold, are those that go through impact testing.
With the use of this test, it is possible to determine whether the fracture is brittle or ductile.
If the brittle fracture typically has high tensile strength and hardness, and vice versa, the results of this test can be associated with the hardness and tensile tests.
Read Also : Discover Welding History: A Captivating Evolution
8. Macro Examination
Materials and welds are visually inspected for flaws using etching fluid (5–10% nitric acid).
Low magnification evaluations only require smoothing or polishing with 400-grit abrasive paper as preparation.
To check for welding connections and penetration, macro test applications are used.
9. Micro Examination
A visual inspection of the material or welded joints is done to look for weld imperfections and grain structure. In this tiny test, a magnifying factor of x 1000 was possible.
Conclusion
Various methods of destructive testing and welding process must be carried out properly so that there are no various defects in welding, and the weld results can be in accordance with the standard.


