Some say that stick welding is the most effortless welding technique to learn, while others say otherwise.
The difficulty of this method may differ for everyone, but when you want to start learning to weld, then this method is the one to go.
This article may be long, but it will surely provide you with an easily digestible read of stick welding from A to Z.
So, without further ado, let’s dig in.
What is Stick Welding?
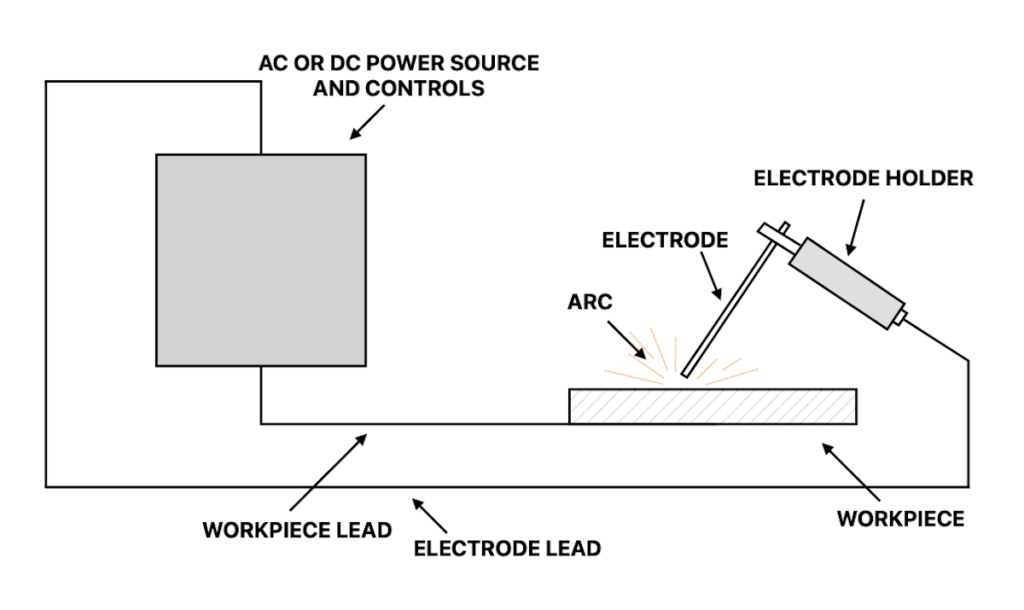
Before we dive into the definition of stick welding, it’s better to know its formal name.
In the US, stick welding is called Shield Metal Arc Welding (SMAW). Meanwhile, it’s Manual Metal Arc Welding (MMAW) in Europe.
Despite the different names, both are the actual stick welding names, while “stick welding” itself is actually a slang commonly used by welders.
What makes the technique gets its name simply because it uses electrodes that look like a stick.
Given electricity, it will create an arc that will melt both the metal filler in the electrode and the metal join, making it possible for both objects to fuse.
Furthermore, the sticking welding process has unique characteristics; it has the ability to produce its own flux.
But what is flux?
Flux is a mixture of components that serves as an oxidation prevention mechanism.
It’s the material that wraps the metal part in the stick welding rod, and it helps you maintain the quality of your work easily.
Flux releases a protective gas that covers the weld pool and keeps them away from oxygen and other contaminants. It will do so until the welds reach a certain temperature.
The sticking welding process produces the strongest joints compared to other welding methods.
It applies to any kind of construction and industry in almost any kind of weather.
Therefore, it’s not exaggerated to say that stick welding is the most versatile and ingenious welding technique so far.
What Kind of Industries Use Stick Welding?
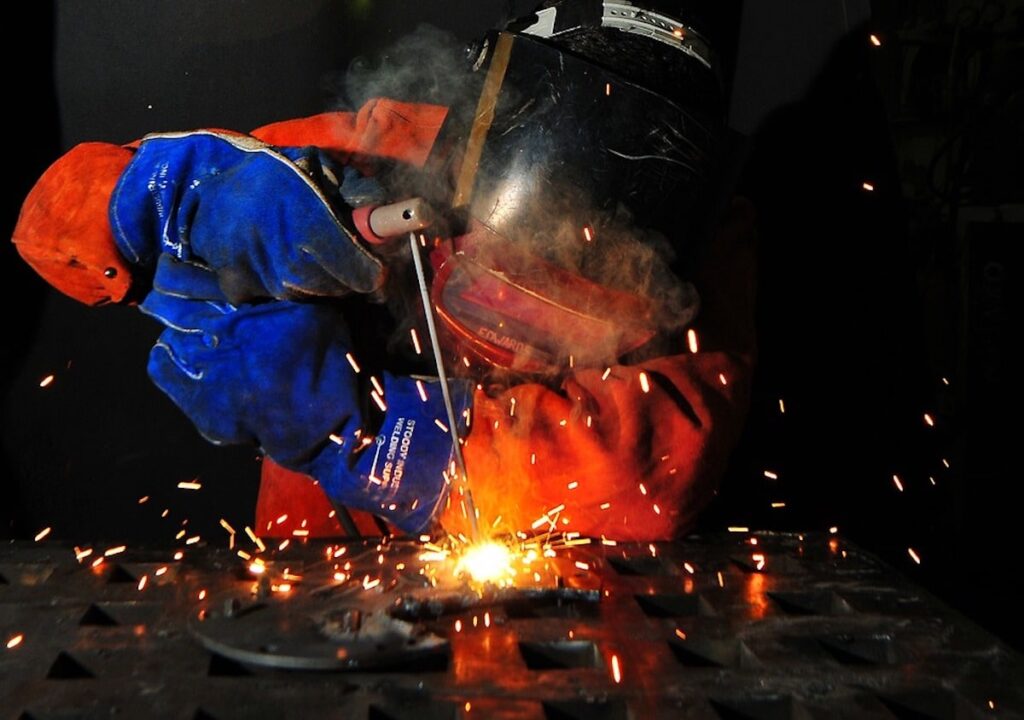
There are various industries that use stick welding techniques.
It ranges greatly from the home industries to big factories. Some of them are:
- Mining
- Manufacturing
- Petroleum
- Aerospace
- Navy,
- Construction,
- And much more
Though multifaceted, stick welding is the best one when it comes to quick welding jobs or repairing dirty materials.
So, if you’re looking for stick welding jobs, do not worry; there are many channels to get into.
What is Stick Welding Best For?
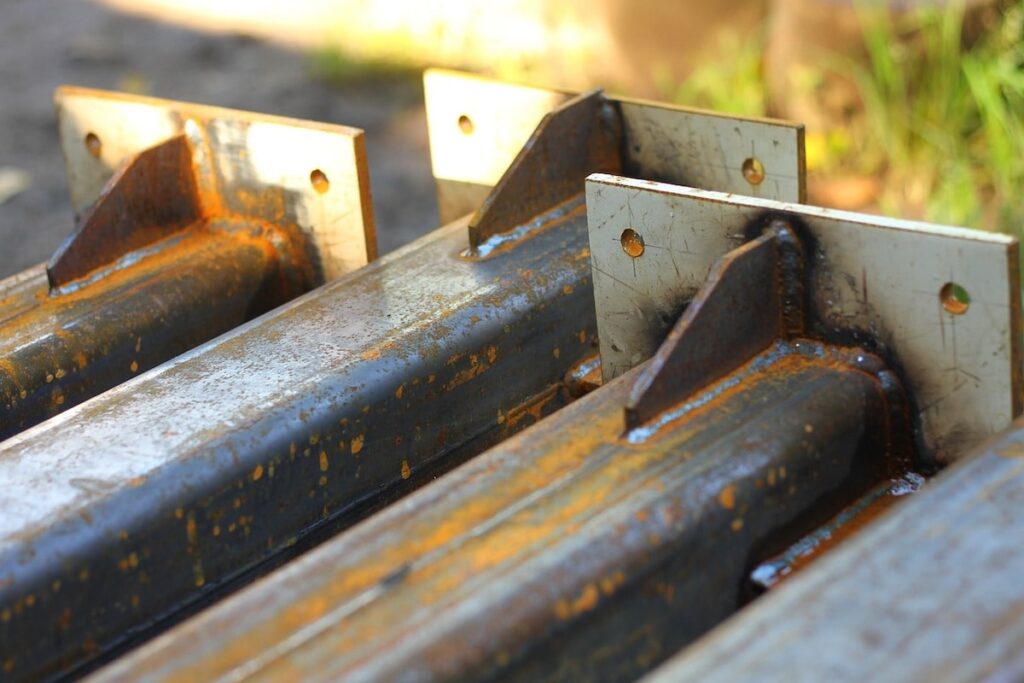
As stated above, stick welding has great versatility when it comes to the material that you can use.
For example, nickel, steel, iron, and chrome are the most common ones.
Aside from that, you can also use stick welding for stainless steel, cast iron, and carbon steel.
When it comes to sticking welding, some people may wonder if they can use stick welding for aluminum.
That is reasonable because aluminum welding is usually done with the MIG rather than stick welding. But is it possible?
The answer is yes.
However, stick welding is certainly not the best way to do it for various reasons.
First, aluminum lacks firmness which is crucial in the stick welding process. Moreover, it transfers heat quickly and is prone to contamination.
Despite all that, using stick welding as a way to fuse aluminum is actually possible, but it’s outdated.
Not only that you have to master the skill, but there’s also a more efficient way to do it, which is using MIG.
More information about MIG is available in the latter part of this article.
Read Also : Heliarc Welding: The Ultimate Guide to Perfect Welds
Can you fuse two kinds of metals together?
In the industry, such cases are commonly found.
This method is called fusion or dissimilar welding, a welding method where you fuse two or more kinds of metal.
However, fusion welding requires a higher skill to do it perfectly. Otherwise, it may result in poor-quality welds.
So, if you encounter such cases, remember that there are a few factors you need to consider.
- The melting point of each metal. The stick welding process will melt the welds, thus, taking this aspect into account is very important to determine whether it’s possible or not and which technique is best used for the case.
- The electrochemical difference, which indicates the possibility of corrosion in any of the materials.
- The thermal expansion. In other words, the possibility of the materials changing size due to a change in temperature.
- The compatibility of the materials. In some cases, there will be a need to insert the third kind of material to fuse two.
The key to a great welding result is constant practice.
So, it’s best to continually hone your skill and keep yourself updated with upcoming technologies.
Read Also : Is Stick Welding Hard? Likely Challenges Exposed
Stick Welding vs MIG vs TIG
We promised you further information on MIG, so we deliver. In this part, you will learn more about MIG and TIG, and how it differs to stick welding.
Hopefully, after reading this, you will be able to answer the question that is surprisingly common for rookie welders: “Is stick welding MIG or TIG?“
So, what are MIG and TIG?
Just like stick welding, MIG and TIG also fall into the category of arc welding.
However, there are fundamental differences between the three, making each method have its own strength and drawbacks.
MIG (Metal Inert Gas) or GMAW (Gas Metal Arc Welding) is a method that uses a roll of solid wire electrodes, instead of a stick welding electrode.
Aside from being the electrode, the wire also serves as the filler for the material.
In MIG, the wire will roll out automatically from the motor drive. Due to that, MIG is the choice if what you seek is fast welding speed and high productivity.
Furthermore, it also helps to lower weld failure since it can run continuously.
Quite similar to MIG, TIG (Tungsten Inert Gas) or GTAW (Gas Tungsten Arc Welding) also uses wire electrodes and shield gas in its process.
However, TIG relies heavily on the welder’s skill to put the filler into the welding pool manually.
Since it requires precision, TIG is trickier to learn.
However, it produces the highest quality of welds among all, and it’s best used if you want to work on thin materials.
| TECHNIQUES | STICK | MIG | TIG |
|---|---|---|---|
| ELECTRODES | STICK/ROD | WIRE (AUTOMATIC) | WIRE (MANUAL) |
| BEST FOR | THICK MATERIALS | THICK MATERIALS | TIN MATERIALS |
| SKILL REQUIREMENT | MODERATE | LOW | HIGH |
Advantages and Disadvantages of Stick Welding
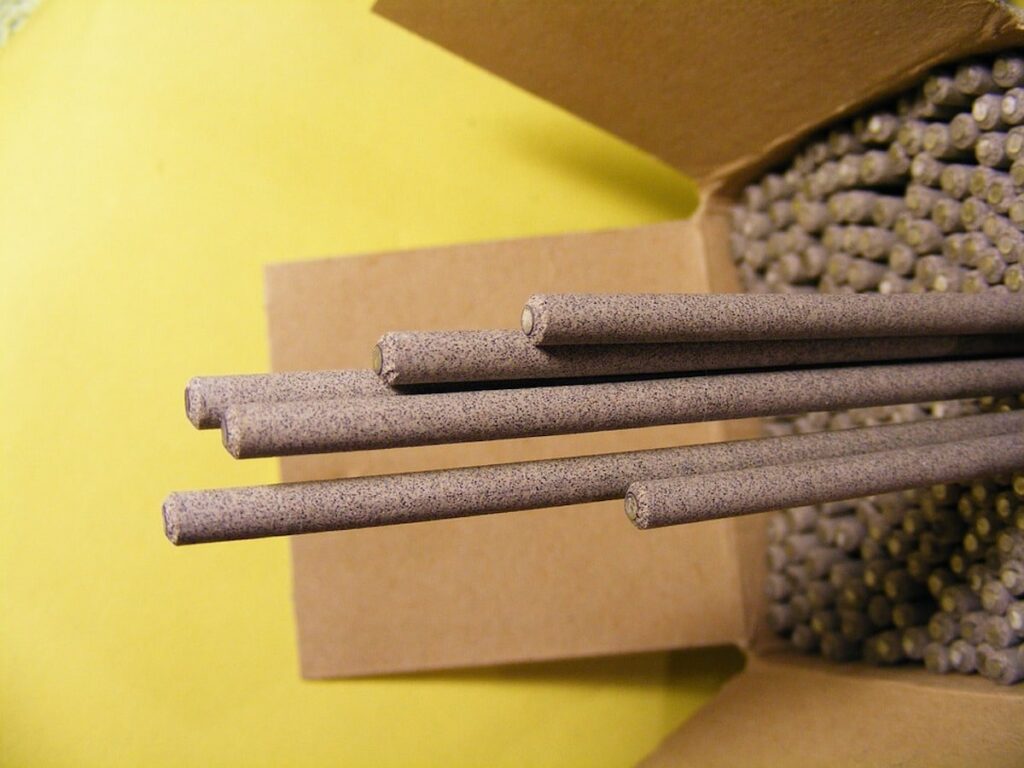
To understand when is the best time to use stick welding, of course you have to understand what it could deliver – and what it could not.
Here are some advantages and disadvantages of the method.
Stick Welding Advantages
- Stick welding is cost-efficient. it’s because the equipment is relatively cheaper than the other welding method.
- Practical. Size-wise, a stick welding machine is rather small, making it easy to carry around. Moreover, you can also adjust the length of the cable to facilitate working from a distance.
- It’s versatile. You can use almost every material for the process, and it’s easy to find and change rods for each.
- No restrictions on weather or surroundings. You can do stick welding indoors and outdoors, amidst windy or drizzling situations. Moreover, you can also use it in multiple work areas, including underwater.
- Depending on the kind of electrodes and the skill of the welder, the welds coming out of the stick welding process may create a higher level of strength compared to other techniques.
Stick Welding Disadvantages
- Hard to work around thin and non-ferrous metals. Although it’s possible, it will take the higher skill of the welder.
- Relatively quickly run out of electrodes, meaning you will have to spend extra bucks to purchase them.
- Despite being the easiest, the stick welding method will still require time to master, especially to balance out the eye and hand coordination.
- Not time efficient. It produces welding slag that is ought to be cleaned up after work. Moreover, it also requires a few minutes of downtime before you can continue working.
- It creates a bigger spark compared to other methods, which will pose the risks of bent materials.
- The stick welding process produces more smoke and fumes, which means it poses more health risks to the welder.
The Step-by-Step of Stick Welding Process
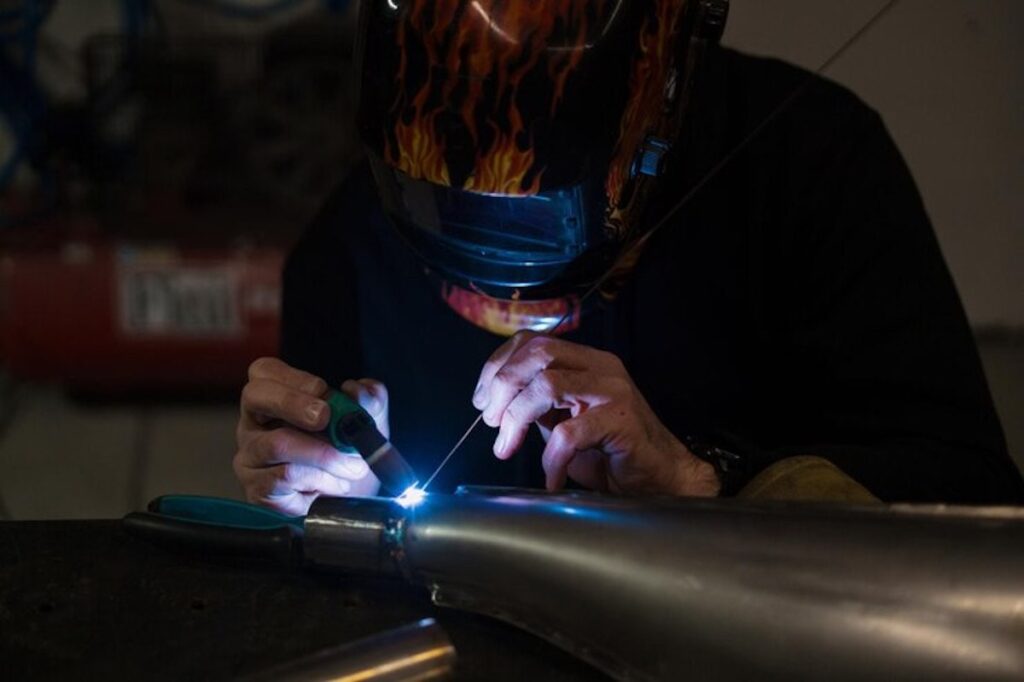
How do you do stick welding? Here is a thorough step-by-step.
- Clean your working area from debris or any other things aside from the equipment. Moreover, it’s also better to make sure that your electrodes and workpieces are dry and clean.
- Use your safety equipment.
- Clip the workpiece using a ground clamp and the electrodes using an electrode holder.
- Start your welding machine. If you hear a soft fan-blowing sound then it means you’re good to go.
- Adjust the Ampere of the machine to the required level. If you’re still unsure, below you will find the amperage chart that will help you start.
- Once the current is running, it will create a short circuit that will take shape into an arc and sparks. Bring the electrode closer to the workpiece and work your way around it.
- As the process goes on, you will notice that there are vapors fuming out of your electrodes. Make sure that your mask is tight to prevent inhaling them.
- Once it’s done, you will see that there’s welding slag around your working area. it’s best to clean them ASAP with a chipping hammer and metal brush.
- Lastly, add a rust preventive soluble to prevent corrosion.
Read Also: 5 Stick Welding Problems and Solutions You Should Know
Stick Welding for Beginners: What to Prepare?
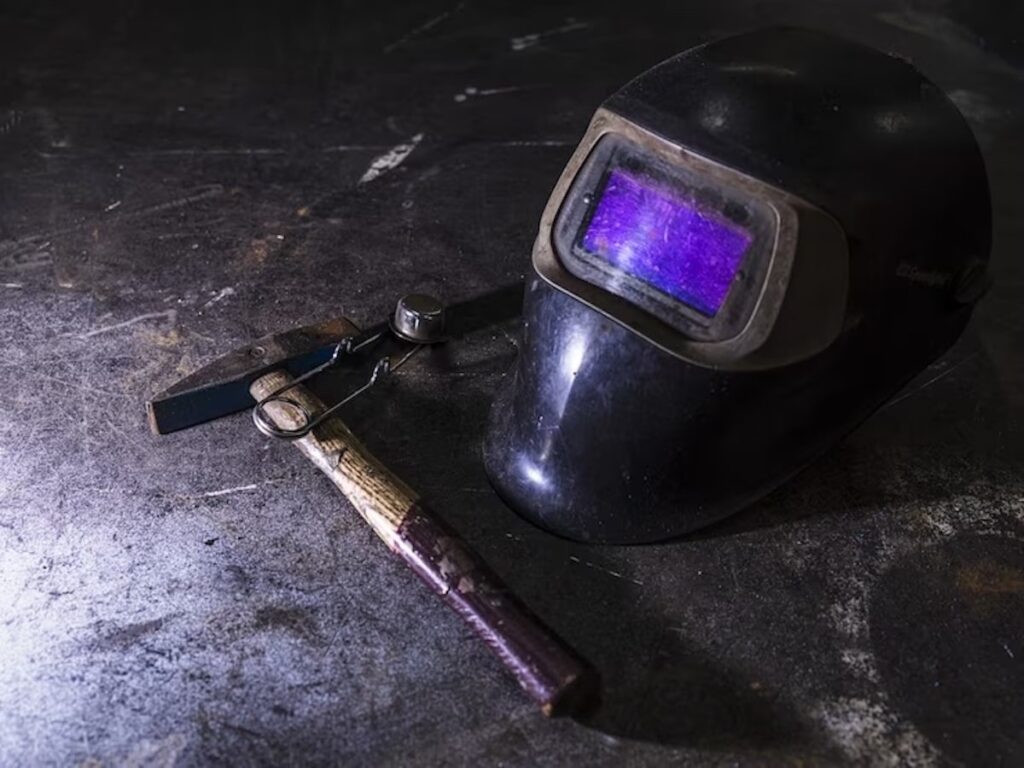
If you are a welding beginner, there are some things you need to put together as an initial investment.
These are some of the most important ones to get.
Read Also: 5 Stick Welding Tips for Beginners to Grow Better
Constant Power Supply
First of all, since stick welding uses electricity to run, it’s best to make sure beforehand that you have a constant and stable power supply.
An unstable current will definitely impact the result of your work.
If it’s too low, then it will be hard to melt the workpiece easily.
Meanwhile, if it’s too high, the workpiece will melt too fast, causing irregularities once the work is done.
Stick Welding Machine
The choice of welding machine plays a huge part in how the outcome would be and it’s important to choose one according to your need.
To do that, there are several factors you need to take into account, which is:
- The location of your work and the source of power. Before you start, make sure whether you prefer to use the AC or DC current for your machine.
Typically, the stick welding process uses a DC machine since it produces less slag and is more stable.
However, the cost of DC welding machines is relatively higher than AC.
Read Also : AC vs DC Welding: Which is the Best Fit for Your Needs?
- The electrodes of your choice. There are various types of electrodes, and each has its own allocation.
At a glance, it’s hard to differentiate them.
Fortunately, every electrode has a stick welding number which shows its tensile strength, welding position, and flux composition.
- Amperage. This factor depicts the level of current that comes to the electrode.
Typically, beginners are recommended to choose the range of 225 to 300 amperage.
However, it depends on the variety of your electrodes.
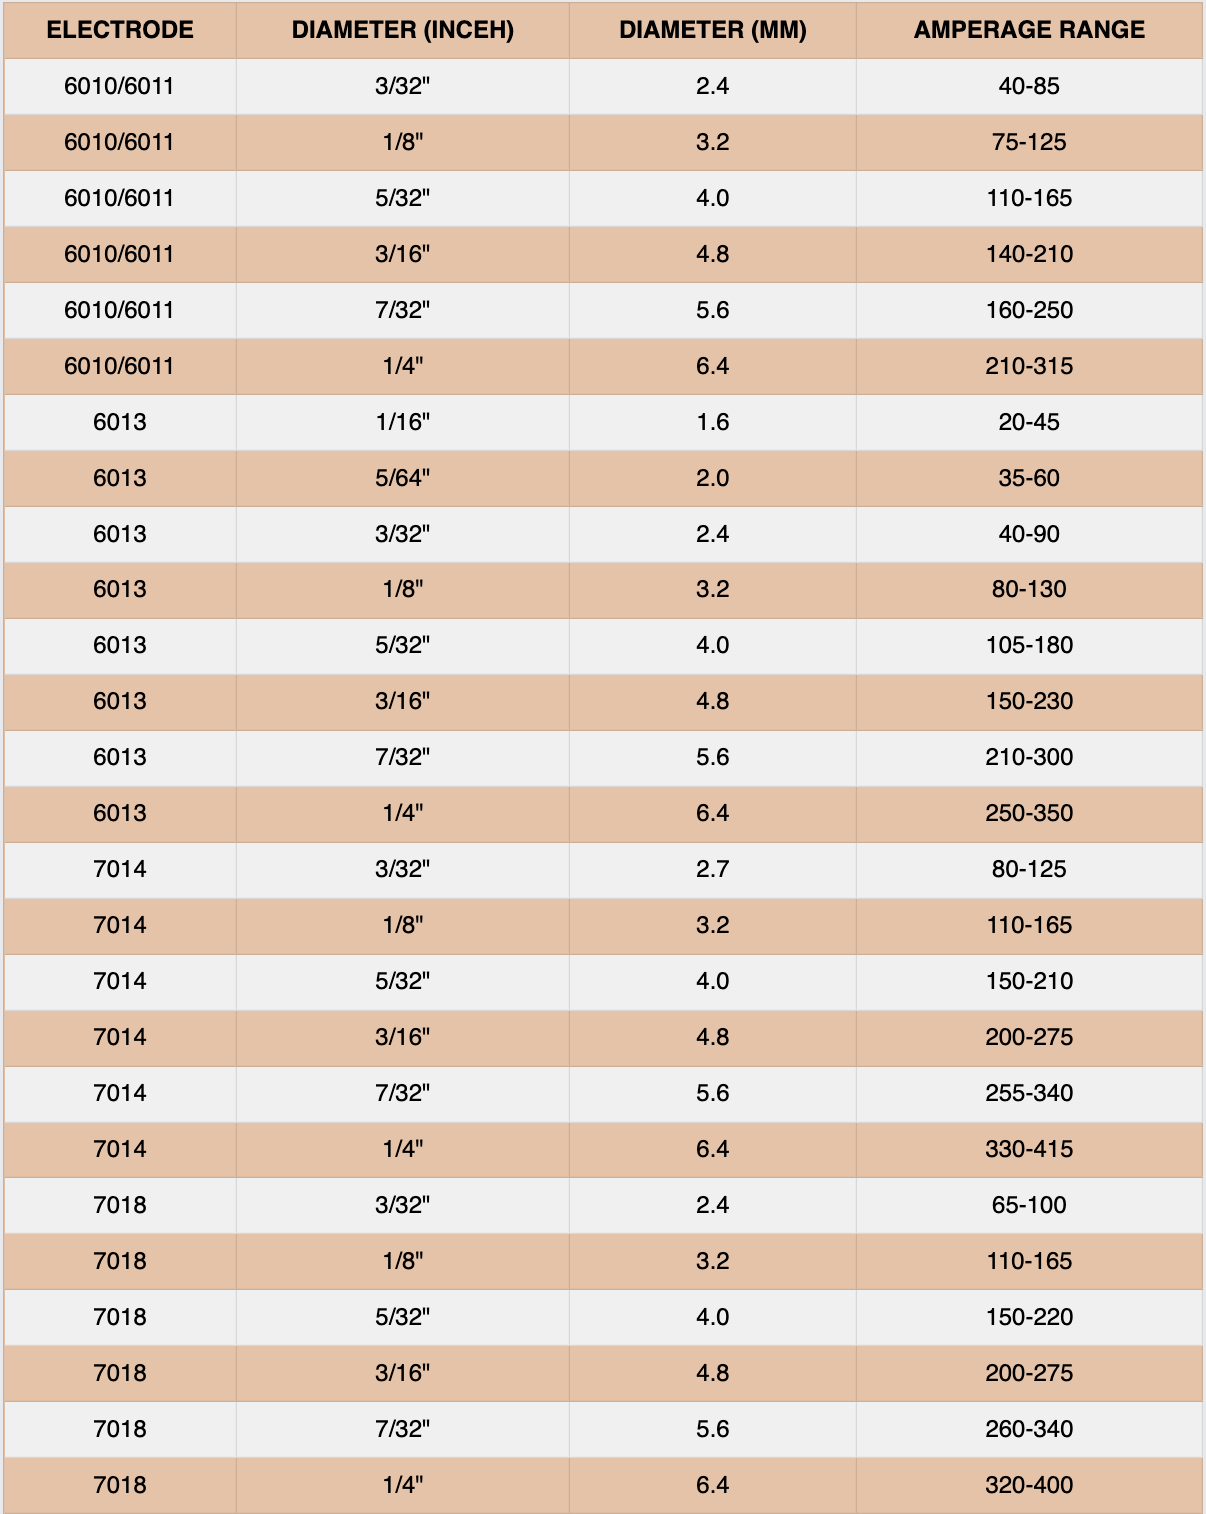
Here is an amperage chart to make it easier.
| ELECTRODE | DIAMETER (INCEH) | DIAMETER (MM) | AMPERAGE RANGE |
|---|---|---|---|
| 6010/6011 | 3/32″ | 2.4 | 40-85 |
| 6010/6011 | 1/8″ | 3.2 | 75-125 |
| 6010/6011 | 5/32″ | 4.0 | 110-165 |
| 6010/6011 | 3/16″ | 4.8 | 140-210 |
| 6010/6011 | 7/32″ | 5.6 | 160-250 |
| 6010/6011 | 1/4″ | 6.4 | 210-315 |
| 6013 | 1/16″ | 1.6 | 20-45 |
| 6013 | 5/64″ | 2.0 | 35-60 |
| 6013 | 3/32″ | 2.4 | 40-90 |
| 6013 | 1/8″ | 3.2 | 80-130 |
| 6013 | 5/32″ | 4.0 | 105-180 |
| 6013 | 3/16″ | 4.8 | 150-230 |
| 6013 | 7/32″ | 5.6 | 210-300 |
| 6013 | 1/4″ | 6.4 | 250-350 |
| 7014 | 3/32″ | 2.7 | 80-125 |
| 7014 | 1/8″ | 3.2 | 110-165 |
| 7014 | 5/32″ | 4.0 | 150-210 |
| 7014 | 3/16″ | 4.8 | 200-275 |
| 7014 | 7/32″ | 5.6 | 255-340 |
| 7014 | 1/4″ | 6.4 | 330-415 |
| 7018 | 3/32″ | 2.4 | 65-100 |
| 7018 | 1/8″ | 3.2 | 110-165 |
| 7018 | 5/32″ | 4.0 | 150-220 |
| 7018 | 3/16″ | 4.8 | 200-275 |
| 7018 | 7/32″ | 5.6 | 260-340 |
| 7018 | 1/4″ | 6.4 | 320-400 |
Here for image version, so you can download it.
- Duty Cycle. It shows the recommended usage time every 10 minutes interval, and it usually shows in percentage.
For example, if your machine’s duty cycle is 60%, it means that you can use it for six minutes, then turn it off for four minutes.
Read Also : Duty Cycle Welding: Important for Work Productivity
Ground Clamp and Rod Holder
Though simple-looking, both tools are the basic necessities of sticking welding, and you cannot just continue without one.
Ground clamps equalize the machine and the ground, and it protects you from electrical shock upon touching them.
Meanwhile, the rod holder ensures the electrode gets good electrical contact.
Safety Equipments
Safety is number one. When you start welding, it’s important to complete this list of safety equipment:
- Leather protective clothes and gloves. Leather protects the wearer from hot sparks or dirt with maximum protection. You can opt for a leather jacket or leather apron, and leather gloves.
- Face protection. Depending on the kind of work, you can choose goggles, glasses, or masks, but it’s always best to choose the full-face ones. Some are equipped with tinted lenses, even though there are also some with auto-darkening features.
- Respirators or masks to protect your respiratory systems. Choose the ones with protection against fumes and vapor, such as an N95 mask.
Cleaning Equipment
Cleaning your welds is just as important as the actual welding activity.
In order to do that, you may want to make sure that both chipping hammer and metal brush are always ready in stick welding.

